Introduction
The Microsoft Deployment Toolkit is a unified collection of tools, processes, and guidance for automating desktop and server deployment. In addition to reducing deployment time and standardizing desktop and server images, MDT enables you to more easily manage security and ongoing configurations. MDT builds on top of the core deployment tools in the Windows Assessment and Deployment Kit (Windows ADK) with additional guidance and features designed to reduce the complexity and time required for deployment in an enterprise environment. MDT supports the deployment of Windows 10, as well as Windows 7, Windows 8, Windows 8.1, and Windows Server 2008R2, Windows Server 2012, Windows Server 2012R2, Windows Server 2016. It also includes support for zero-touch installation (ZTI) with Microsoft System Center 2016 Configuration Manager.
For this demo, I will be using my new dedicated MDT and WDS Windows Server 2016 (WDS-SERVER).
There are a few things we need to prepare before we deep dive into the process.
- Download Windows Assessment and Deployment Kit (Windows ADK) for Windows 10
- Download Microsoft Deployment Toolkit (MDT)
- Windows Deployment Services (Windows server role, used to boot and deploy operating systems images through the network)
- Windows 10 distribution (ISO image or installation disc) – Windows 10 source files
Once you prepared all the necessary component, let’s get started 
1 – On the WDS-SERVER, install Windows 10 ADK

2 – On the Windows kits privacy click Next

3 – On the License Agreement, proceed with Next

4 – On the Select the features you want to install, click
- Deployment Tools
- Windows Preinstallation Environment (Windows PE)
- User State Migration Tool (USMT)
and then click Install (it might take a while for the features to download)

5 – wait for the download & installation process to complete

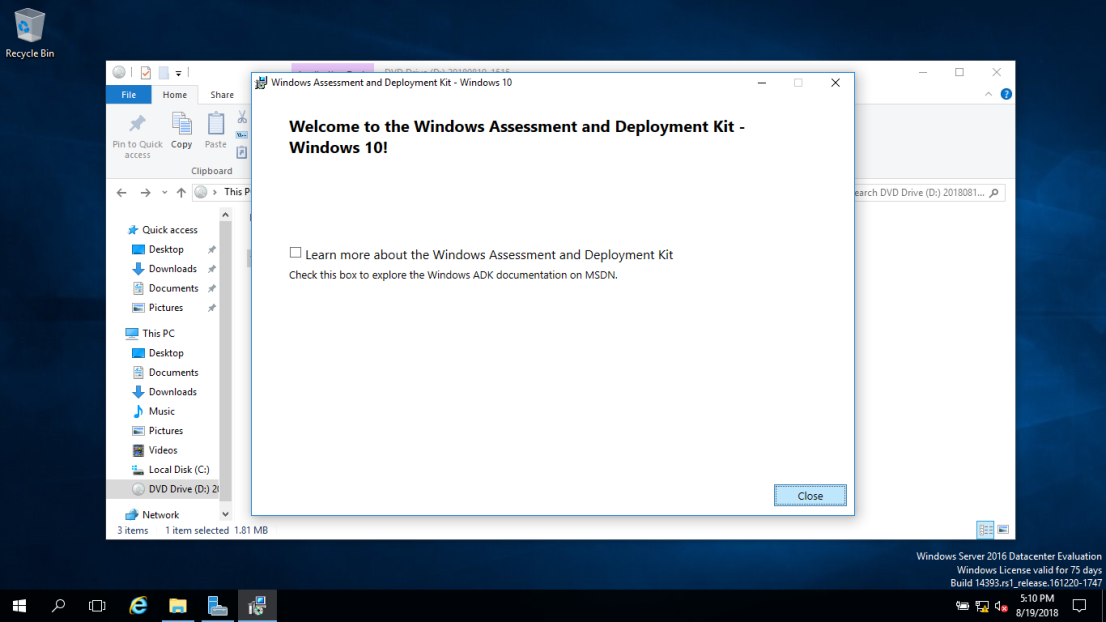
6 – Once the process complete, click Close
7 – Next we need to install Microsoft Deployment Toolkit, on the wizard click Next

8 – Accept the License Agreement and click Next

9 – On the Custom Setup, click Next

10 – On the Customer Experience Improvement Program interface, click Next

11 – Click Install

12 – Once the process completed, click Finish


13 – Start Menu open Deployment Workbench

14 – Deployment Workbench console Right-click Deployment Shares folder and then click New Deployment Share

15 – On the Path interface, verify the location of the Deployment share (by default it will save to C:\DeploymentsShare), then click Next

16 – On the Share interface, verify the name of the share (by default the name is DeploymentShare$), then click Next

17 – On the Descriptive name interface, proceed with Next

18 – On the Options interface, please untick all the box and then Next

19 – On the Summary interface, verify all the information and then click Next

20 – On the Confirmation interface, click Finish

21 – On the Deployment Workbench console, Right click Operating System Folder and then click Import Operating System
Make sure you attach Windows 10 distribution (ISO image or installation disc) before proceeding with next step

22 – On the OS Type interface, click Full Set of source files and then click Next

23 – On the Source interface, click Browse button, in the Browse For Folder box, browse toWindows 10 drive or Directory and then click Next

24 – On the Destination interface, verify the Destination Directory name and then click Next

25 – On the Summary interface, click Next

26 – It might a while for the process to complete

27 – Once the process complete copy the necessary files, click Finish


28 – Back to the Deployment Workbench console, right-click Task Sequence and then clickNew Task Sequence

29 – On the General Settings interface, fill in the Task Sequence ID: for this demo, I type OSWin10, then fill in the Task sequence name: for this demo, I type Deploy Windows 10 Pro x64 and then click Next

30 – On the Select Template interface, I choose the Standard Client Task Sequence and then click Next

31 – On the Select OS interface, click Windows 10 and then click Next

32 – On the Specify Product Key, I choose Do not specify a product key at this time and then click Next

33 – On the OS Settings interface, Fill in the necessary information and then click Next

34 – On the Admin Password interface, I choose Do not specify an Administrator password at this time, and then click Next

35 – On the Summary interface, click Next

36 – On the Conformation interface, click Finish

37 – Next, we need to configure MDT rules before we start to update the process.
Right-click MDT Deployment Share and then click Properties
Right-click MDT Deployment Share and then click Properties

38 – On the MDT Deployment Share interface, click the Rules tab and then key in the rules that you want to be executed
for this demo, this is my sample of the rule:
[Settings]
Priority=Default
Properties=MyCustomProperty[Default]
OSInstall=Y
UserID=Administrator
UserDomain=NewHelpTech.lk
UserPassword=Pa$$w0rdSkipBDDWelcome=YES
SkipDeploymentType=YES
SkipDomainMembership=NO
SkipApplications=NO
SkipSummary=YES
SkipUserData=YES
SkipComputerName=NO
SkipTaskSequence=NO
SkipLocaleSelection=YES
SkipTimeZone=YES
SkipAppsOnUpgrade=YES
SkipAdminPassword=YES
SkipProductKey=YES
SkipComputerBackup=YES
SkipBitLocker=YES
SkipCapture=YES
SkipFinalSummary=YES
once you type all the rules, click Edit BootStrap.ini button

39 – In the BootStrap.ini file, type:
UserID=Administrator
UserDomain=NewHelpTech.lk
UserPassword=Pa$$w0rd
KeyboardLocale=en-US
and then save the Bootstrap.ini file

40 – Click OK to proceed

41 – Next, its time for us to update the process Right-click MDT Deployment Share, and then clickUpdate Deployment Share will create a Windows 10 LiteTouchPE_x64.wim file
We’re going to use LiteTouchPE_x64.wim file to be attached to WDS so that we can install Windows 10 through the network

42 – On the Options interface, click Optimize the boot image updating process, and then clickNext

43 – On the Summary interface, click Next

44 – It might take around 10 minutes for the process to be completed, once the process complete, click Finish


45 – Next, still on the WDS-SERVER, open Windows Deployment Services (WDS), right-clickBoot Images and then click Add Boot Image


46 – On the Image File interface, browse to C:\DeploymentShare\Boot\LiteTouchPE_x64.wim, and then click Next


47 – On the Image Metadata interface, click Next

48 – On the Summary interface, click Next

49 – On the Task Progress interface, click Finish

50 – We’ve done on the Server part, now lets boot up the Client PC so that the WDS will continue to install the Windows 10 through network (using PXE)
On the client PC, notice that it will boot up using network service boot, press F12 to continue


51 – It might a while for the process to load the LiteTouchPE_x64.wim from our WDS-SERVER


52 – our Client PC should pop up to the MDT interface

53 – On the MDT Welcome screen, click Run the Deployment Wizard to install a new Operating System

54 – On the Select, a task sequence to execute on this computer, click Deploy Windows 10 Pro X64 and then click Next

55 – On the Computer Details interface, fill in the Computer name and the necessary information (you have a choice to join to the domain @ workgroup) and then click Next

56 – It might take around 15 minutes for the process to complete install Windows 10 without needed any user interaction


57 – After few reboots, you should have your complete Windows 10


Good luck! Just give it try – I’m sure you’ll love it as well. If you have any comments or questions on feel free to contact me.
That’s all for now.
*Collected